Amazon Product Listing Quality Checker: Key Factors

This guide explains Amazon product listing quality score checkers in 2026—what they are, how to choose one, common mistakes, and practical steps to improve your listings. Whether you're a seller or a buyer, you'll learn how to use these tools effectively to boost performance and avoid pitfalls.
Why Amazon Listing Quality Score Checker Matters in 2026

Amazon’s algorithm increasingly rewards listings that are complete, relevant, and high-converting. A listing quality score checker helps sellers identify weak points before they lose sales, and helps buyers spot trustworthy products. In 2026, with more sellers competing globally, using a checker can be the difference between a product that ranks and one that drowns.
For cross-border e-commerce, listing quality directly impacts ad costs, organic visibility, and conversion rates. A poor score means wasted spend and lost ranking. Conversely, a high score can lower your cost-per-click and improve your Buy Box chances. This article explains what to look for in a checker, how to evaluate it, and how to avoid common mistakes.
Key Types of Amazon Listing Quality Score Checkers
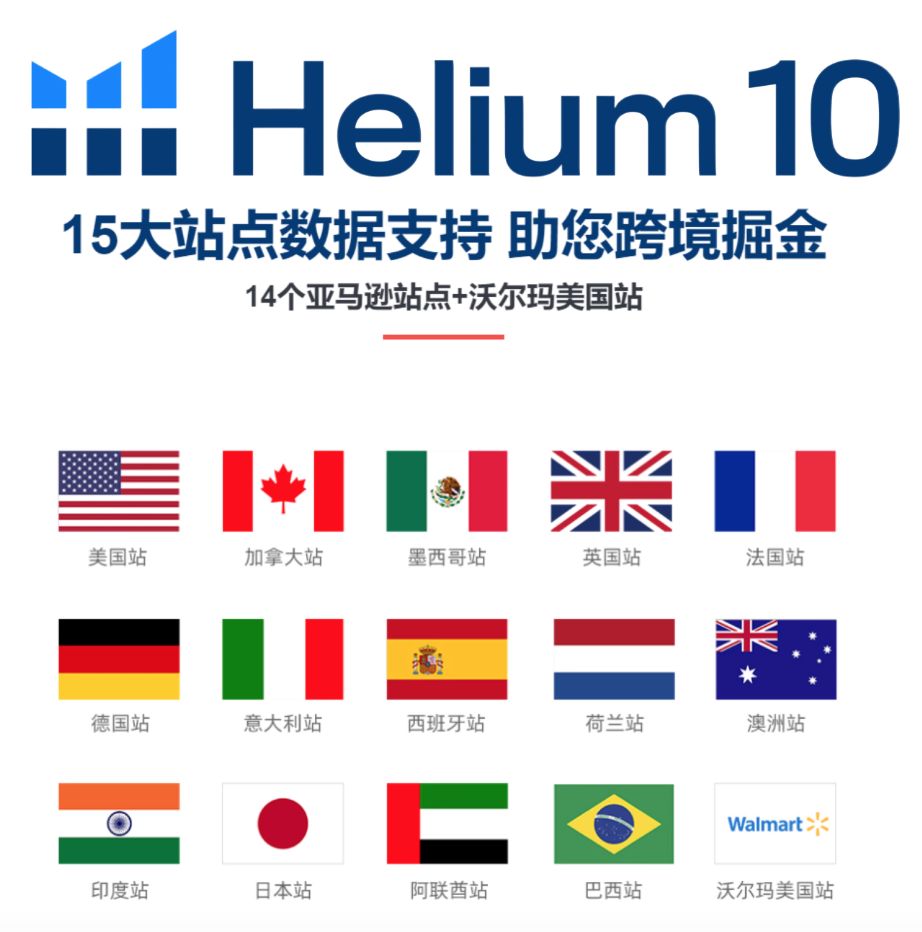
There are three main categories: free browser extensions, standalone software, and full-service analytics platforms. Free extensions like Helium 10’s Listing Analyzer or Jungle Scout’s Listing Grader offer basic checks on title length, bullet count, and image size. Standalone tools like SellerApp’s Listing Quality Score or AMZScout’s Listing Inspector provide more detailed scoring across multiple factors.
Full-service platforms such as DataDive or Sellics integrate listing scoring with keyword tracking, competitor analysis, and PPC management. They typically cost more but offer a comprehensive view. Prices vary widely: free to $50/month for basic tools, $100-$300/month for advanced standalone software, and $500+/month for enterprise-level platforms. (Indicative pricing, subject to change.)
- Free extensions: quick checks, limited depth
- Standalone software: detailed scoring, moderate cost
- Full-service platforms: integrated analytics, higher price
How to Evaluate a Checker: Criteria and Trade-offs
When choosing a checker, focus on four criteria: scoring accuracy, data depth, usability, and update frequency. Accuracy matters because a checker that flags irrelevant issues wastes your time. Data depth refers to whether it evaluates keyword usage, backend search terms, image specs, A+ content, and review velocity. Usability is about how quickly you can get a score and actionable suggestions. Update frequency ensures the checker reflects Amazon’s latest algorithm changes.
Trade-offs are inevitable. Free tools may have limited checks and outdated data. Paid tools offer more depth but require a learning curve and budget. Some tools focus only on keywords, missing visual or compliance factors. Others are too complex for beginners. Always test with a trial or free version before committing. A good rule: if the tool doesn’t provide specific, actionable recommendations, it’s not worth the price.
- Scoring accuracy: check sample scores against manual review
- Data depth: covers title, bullets, images, backend terms, A+ content
- Usability: dashboard clarity, report export
- Update frequency: monthly or quarterly algorithm updates
Common Pitfalls When Using a Listing Quality Checker
One common mistake is relying solely on the score without understanding the underlying factors. A high score doesn’t guarantee sales if your product has no demand or poor reviews. Another pitfall is ignoring compliance: some checkers don’t flag restricted keywords or prohibited claims, which can lead to listing suppression.
Also, many sellers compare scores across different tools that use different scales, leading to confusion. A score of 80 from one tool may be equivalent to a 60 from another. Finally, don’t over-optimize for the checker—filling every character with keywords may hurt readability and conversion. Balance is key.
- Relying on score alone, ignoring market demand
- Missing compliance issues (restricted words, claims)
- Comparing scores across different tools
- Over-optimizing to the point of unnatural copy
Practical Recommendations and Next Steps
For most sellers, a mid-tier tool like SellerApp or Helium 10’s paid plan offers the best balance of cost and depth. Start with a free trial, run it on your top 10 products, and note the suggested improvements. Prioritize fixes that affect conversion: main image quality, title clarity, and bullet relevance.
For buyers, a checker can help validate a product’s professionalism. Look for listings with high scores, clear images, and detailed descriptions—these are more likely to meet expectations. Always read recent reviews and check return policies.
Next steps: 1) List your current listings and run a free checker to get baseline scores. 2) Choose one paid tool that fits your budget and test it for a month. 3) Implement top three fixes per listing and track changes in organic rank and conversion over two weeks. 4) Stay updated on Amazon’s listing guidelines via official seller central announcements.
Key Takeaways
In summary, an Amazon listing quality score checker is a valuable tool for identifying weaknesses and improving performance, but it's not a silver bullet. Choose a checker that matches your needs, understand its limitations, and always combine its insights with market research and customer feedback. Start by auditing your listings with a free tool, then invest in a paid solution that offers actionable recommendations. Regularly monitor your scores and adapt to Amazon’s evolving standards.
This article is compiled by kuajing168.cn for reference only. Please refer to the official announcements of each platform for the latest policies and rates.
© 版权声明
文章版权归作者所有,未经允许请勿转载。
相关文章





暂无评论...
Warning: Illegal string offset 'count' in /www/wwwroot/www.kuajing168.cn/wp-content/themes/onenavtt/inc/widgets/w.carousel.php on line 239
Warning: Illegal string offset 'imgs' in /www/wwwroot/www.kuajing168.cn/wp-content/themes/onenavtt/inc/widgets/w.carousel.php on line 240
Warning: Invalid argument supplied for foreach() in /www/wwwroot/www.kuajing168.cn/wp-content/themes/onenavtt/inc/widgets/w.carousel.php on line 243
Warning: Illegal string offset 'is_tow' in /www/wwwroot/www.kuajing168.cn/wp-content/themes/onenavtt/inc/widgets/w.carousel.php on line 264
Warning: Illegal string offset 'two' in /www/wwwroot/www.kuajing168.cn/wp-content/themes/onenavtt/inc/widgets/w.carousel.php on line 265
Warning: Illegal string offset 'is_hot' in /www/wwwroot/www.kuajing168.cn/wp-content/themes/onenavtt/inc/widgets/w.carousel.php on line 299
Warning: Illegal string offset 'hot' in /www/wwwroot/www.kuajing168.cn/wp-content/themes/onenavtt/inc/widgets/w.carousel.php on line 300
Warning: Illegal string offset 'title_ico' in /www/wwwroot/www.kuajing168.cn/wp-content/themes/onenavtt/inc/widgets/w.carousel.php on line 300
Warning: Illegal string offset 'hot' in /www/wwwroot/www.kuajing168.cn/wp-content/themes/onenavtt/inc/widgets/w.carousel.php on line 300
Warning: Illegal string offset 'title_ico' in /www/wwwroot/www.kuajing168.cn/wp-content/themes/onenavtt/inc/widgets/w.carousel.php on line 300
Warning: Illegal string offset 'hot' in /www/wwwroot/www.kuajing168.cn/wp-content/themes/onenavtt/inc/widgets/w.carousel.php on line 303
Warning: Illegal string offset 'title' in /www/wwwroot/www.kuajing168.cn/wp-content/themes/onenavtt/inc/widgets/w.carousel.php on line 303
Warning: Illegal string offset 'hot' in /www/wwwroot/www.kuajing168.cn/wp-content/themes/onenavtt/inc/widgets/w.carousel.php on line 304
Warning: Illegal string offset 'post_type' in /www/wwwroot/www.kuajing168.cn/wp-content/themes/onenavtt/inc/widgets/w.single.posts.php on line 212
Warning: Illegal string offset 'post_type' in /www/wwwroot/www.kuajing168.cn/wp-content/themes/onenavtt/inc/widgets/w.single.posts.php on line 226
Warning: Illegal string offset 'only_title' in /www/wwwroot/www.kuajing168.cn/wp-content/themes/onenavtt/inc/widgets/w.single.posts.php on line 227
Warning: Illegal string offset 'orderby' in /www/wwwroot/www.kuajing168.cn/wp-content/themes/onenavtt/inc/widgets/w.single.posts.php on line 235